How to install your hard flooring
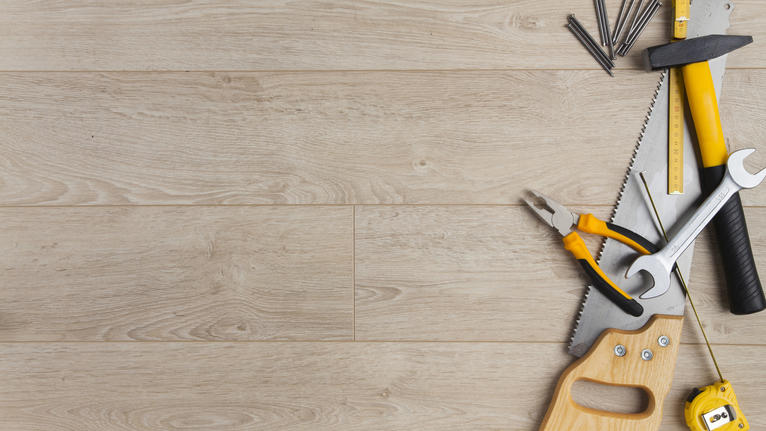
With the new 2-Lock angle locking system, parquet and laminate flooring have become very easy to install, with only a few tools required:
• Saw
• Pencil
• Tape measure
• Vacuum cleaner
Step 1– Prepare your subfloor
To ensure a smooth installation, it is important to prepare the surface onto which you’ll be laying your floor. Since it is a floating installation, wood and laminate can be installed over an existing floor, such as:
• PVC or linoleum
• Parquet
• Laminate
• Tiles
• Thin
• Carpet
It can also be laid over underfloor heating.
The most important thing is to have a dry, even and clean subfloor. Level off any irregularities and always use an underlay. There are different underlay types; for instance, on sub-floors like concrete containing a higher moisture level, a moisture barrier has to be installed. Or if you live in an apartment building, you might consider an underlay with noise reduction properties. Or both!
Step 2 – Prepare your flooring
It is important to allow the flooring to adjust to the temperature of the room in which it will be installed by placing the sealed packages in the room for a minimum of 48 hours prior to installation.
Step 3–Install your flooring
PLAN INSTALLATION
As a general rule, planks are installed following the direction of the main light source. If the room is narrow, like a corridor, the planks should run along the length of the room, regardless of the light direction.
After measuring your room and taking into account an expansion gap of 8-10mm all around the room, make sure that all of the last row will be wider than 5cm and that the plank at the end of each row will be longer than 30cm (50cm for long boards).
Tip: if you are using a hand saw always cut the planks face down in order not to damage the visible part. For a jig-saw, it is usually the opposite, but it will depend on the type of blade you are using.
Recommendation: When installing parquet in very large spaces (10m long or wide) or communicating rooms where expansion transitions cannot be used, a glued down installation will lower the risk of buckling.
INSTALL THE FLOOR
Open several boxes of planks and sort them for a harmonious rendering:
• Wood is a natural product and all planks are different, so ensure that the planks with knots and natural colour variations are evenly distributed across the room
• Laminate has a printed design repeating every 10 planks (number varies depending on producer and range), so you need to avoid having two similar planks side by side
Install the first row along a wall and remember to use spacers all around the room to allow for an expansion gap. Wood and laminate floors (that are 80% wood) move with the temperature and humidity variations in the room - without an expansion gap they can buckle.
FINISH
Once all the planks have been locked together, remove the spacers and install skirting boards that will cover the expansion gaps and add elegance to your interior.
To sum up: installing wood and laminate floors is easy! Here are the five things you should remember:
- The sub-floor must be flat, clean and dry
- Don’t rush into it - the floor must acclimatize over a period of 48 hours
- Plan your installation carefully beforehand to avoid any surprises
- Don’t forget the expansion gap
- Don’t forget the matching skirting boards
If you are ready to install your hard flooring, go to our documentation center to download the appropriate full installation instructions and watch our installation video!